I love sewing and I was honored when my niece asked me to transform her wedding dress into her daughter’s Christening gown. I loved the idea and I want to share with you the steps I took to make this happen. This is not a sewing tutorial, but I will share with you my process and the supplies I used to make this Christening gown.
Step 1: Evaluate the wedding dress
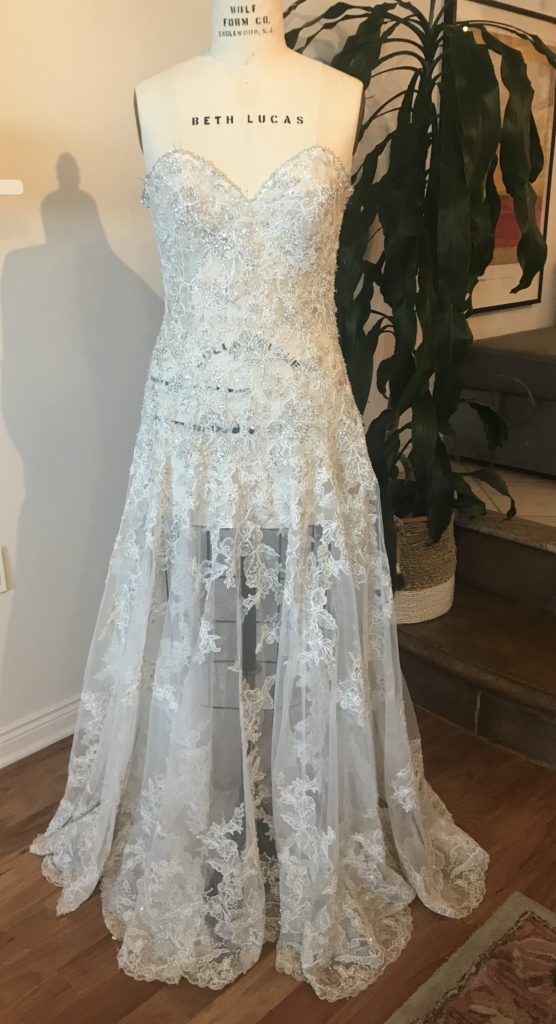
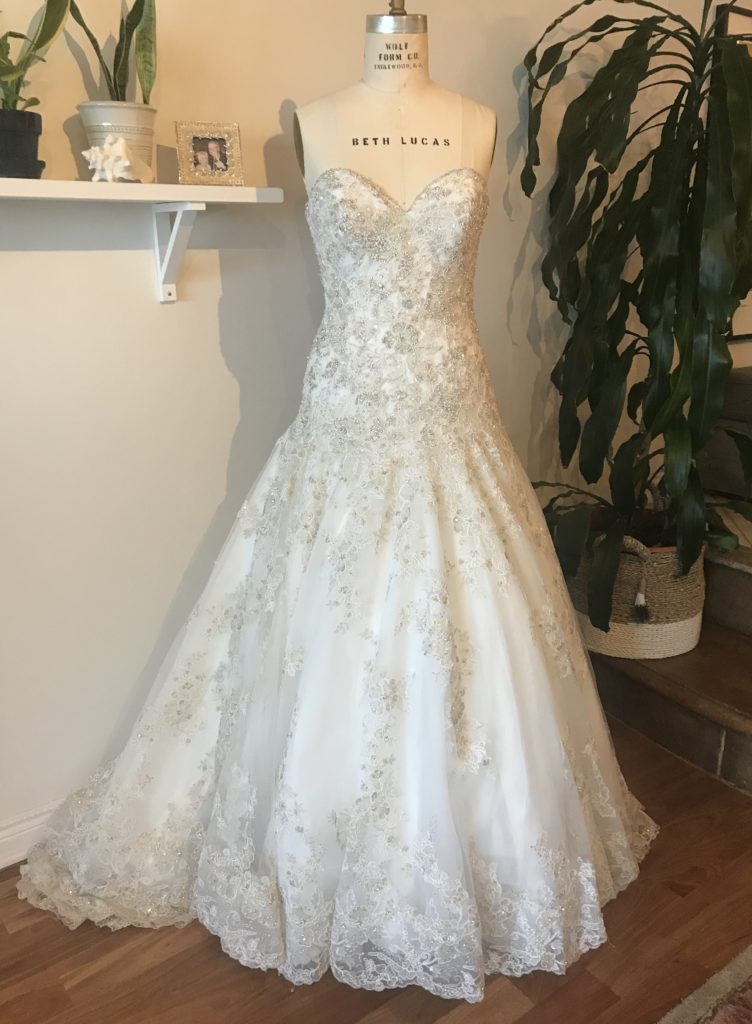
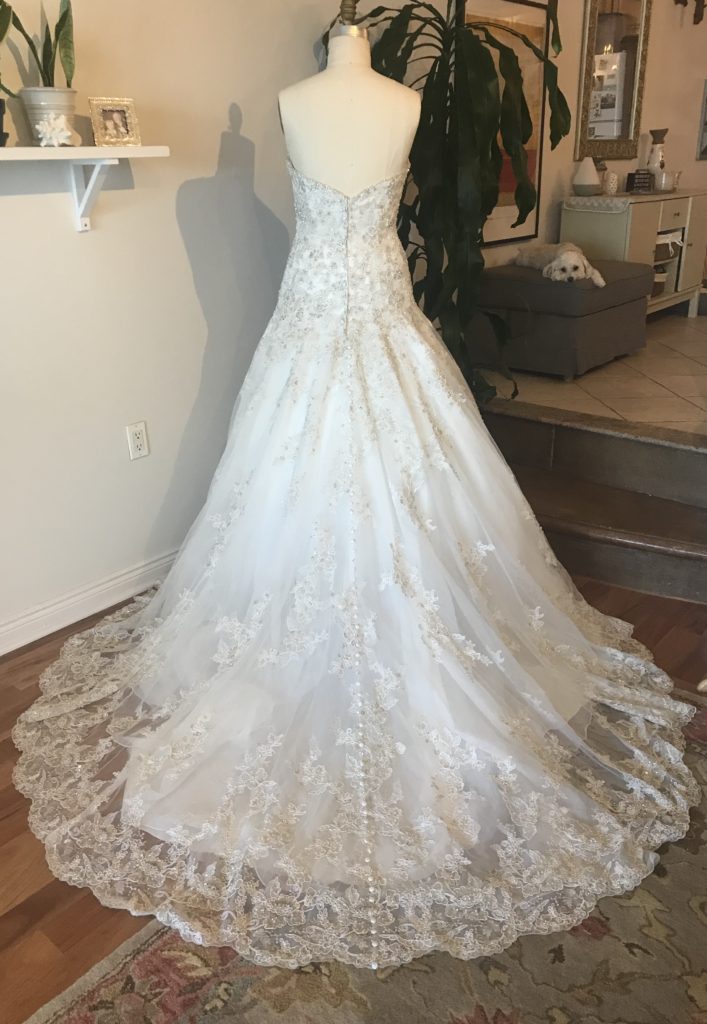
Be sure to carefully review the wedding dress to see if it will work as a Christening gown. My niece’s dress had a lot of beading work at the bodice area that wasn’t going to work on the Christening gown, but the skirt was fine to use. Plus, the dress had a scallop laced edge that I was able to incorporate into the Christening gown, which was great because I didn’t have to hem that layer of the gown. Also, my niece and I decided it would be beautiful to keep the center back button closure detail from the wedding dress onto the Christening gown.
You definitely have to use your imagination and creativity, but that is the fun of the whole process.
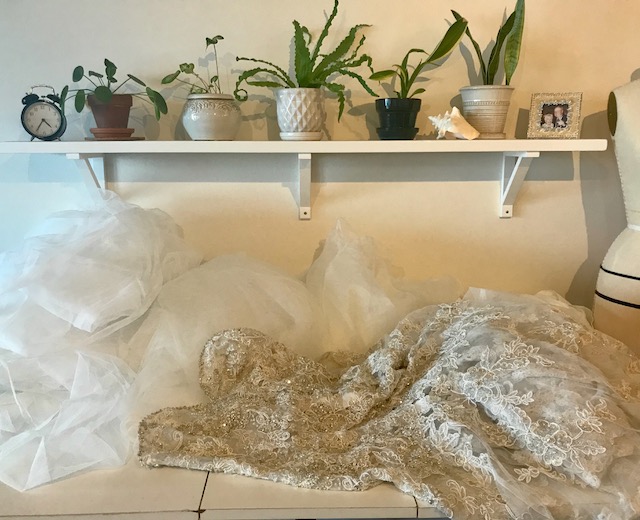
These photos are the front and back view of the wedding dress before I took it all apart.
Step 2: Taking apart the dress
The first time you take apart a wedding dress, it could be a little scary and intimidating. Just take your time and trust that it will all come out beautiful.
I used scissors and a seam ripper to take the dress apart. The first time I did this, I used a seam ripper to neatly take apart the dress. It took me so long and was really unnecessary. It is faster to use scissors and cut closely along the seams. Once you have the dress taking apart, you can start organizing your fabrics. I used only the lace and lining for the Christening dress and left out the tulle.
Step 3: Making the mock-up
Definitely sew up a mock-up in muslin and fit it on the baby. You want to be sure that the dress fits before you start cutting the actual fabric. Also, keep in mind that babies grow and you don’t want to start making the dress to far in advance that it doesn’t fit when Christening day comes. Be very mindful of your timing.
I used McCall’s M6621 pattern to make the Christening gown and bonnet. It was easy to follow and I loved all the different versions it offered. (For a First Communion dress, I used Vogue V7819 pattern.)
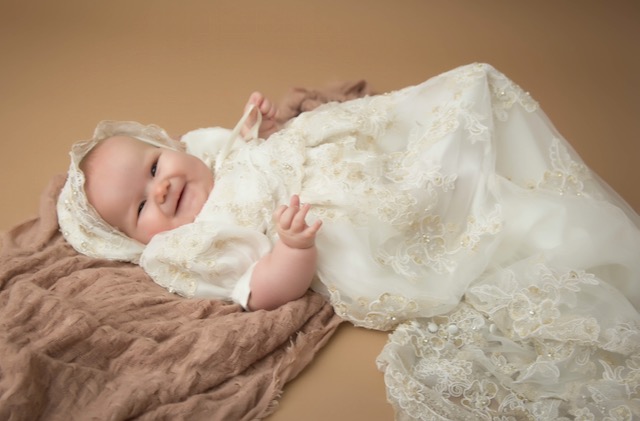
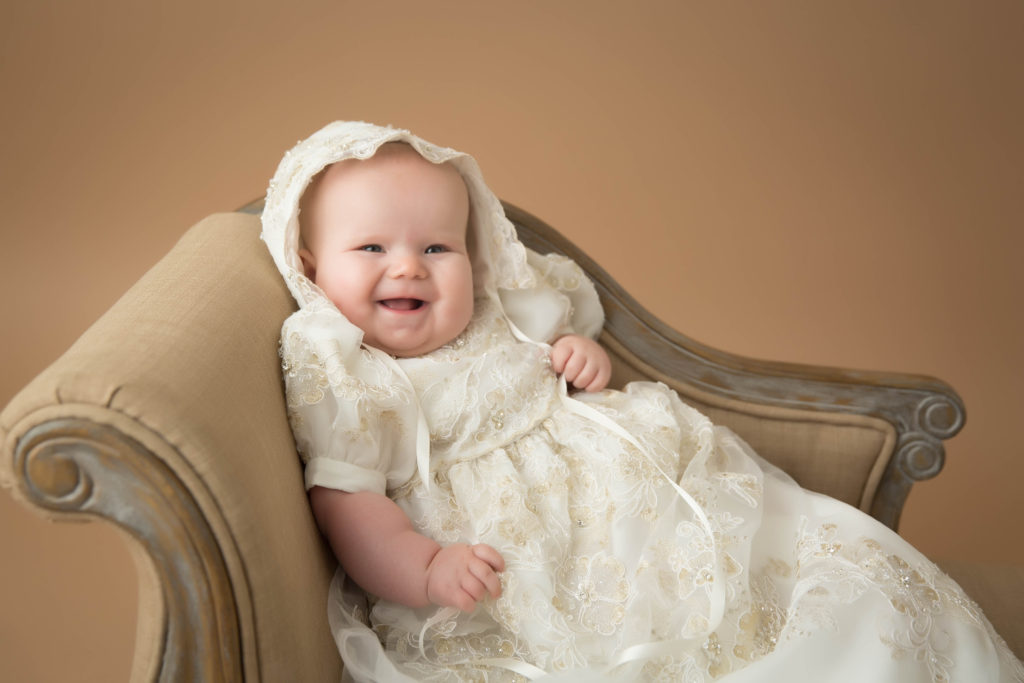
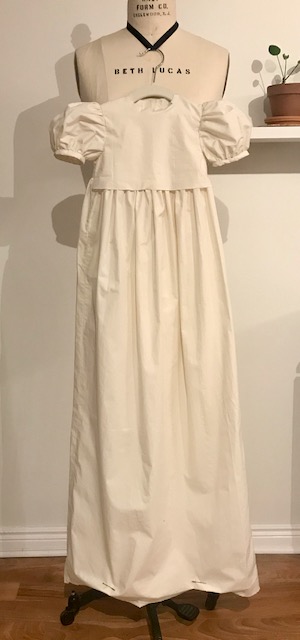
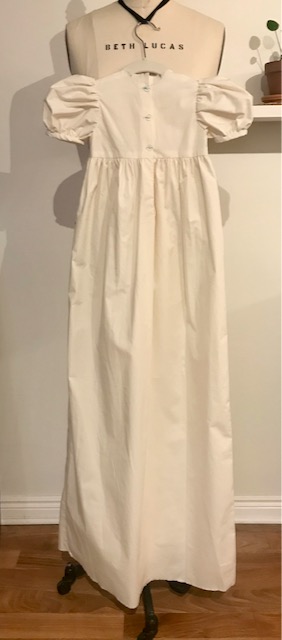
The mock-up fitted perfectly on my niece and we made some adjustments to the length based on the fabric we had from the wedding dress. You can see from the photos below that this a long Christening gown, but you can make it whatever length you want.
I highly recommend that you make a mock-up. You do not have to hem it or clean-finish it. For the buttonholes, I just cut little slits to make sure the placement was correct.
Step 4: Start cutting the dress
Now you can start laying out your pattern pieces onto the actual fabric.
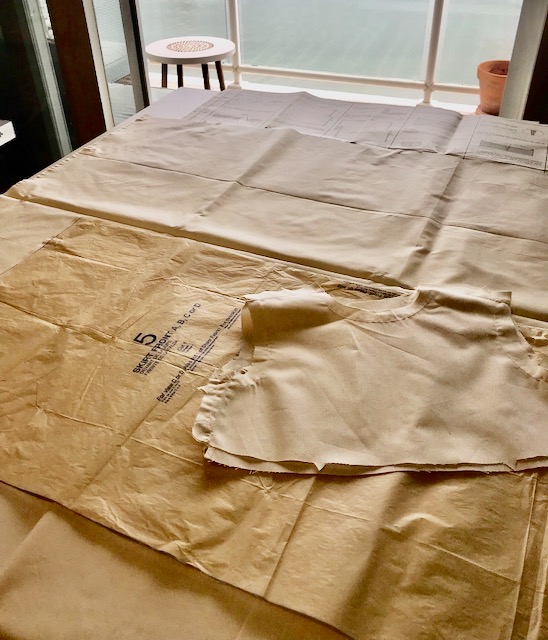
When I was cutting the lace, I had to be very careful with all the beading. I had to remove beads from the seam allowance so that I wouldn’t break a needle when sewing. I must admit that I missed a few beads and broke a few needles.
Once I cleared out the beads from the seam allowance, I applied a little bit of fabric glue to the back and let it dry. I really like Gutermann Creative HT2 textile glue.
Step 5: Start sewing the dress and bonnet
I followed the McCall pattern and found it really easy to follow. I loved that it had a pattern for the bonnet as well. I used the scallop edge of the dress for the trim along the front part of the hat.
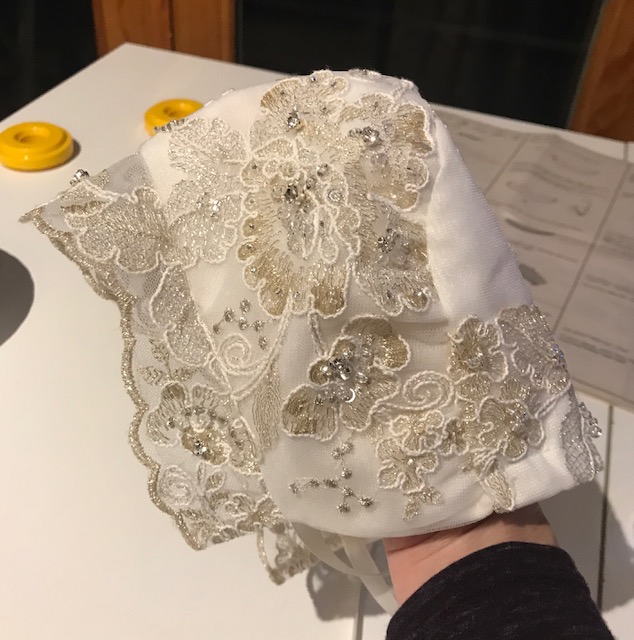
As mention before, be careful if you the fabric as beads. You want to be sure to get all the beads out of the seam allowance so that you don’t break the needle on the machine.
Be sure to baste before sewing, especially if there are multiple layers when sewing.
Step 6: Press or steam the gown
For the final touch, I steam pressed the Christening gown with my handheld garment steamer and used the delicate setting.
This project was definitely a labor of love and one that will be passed down to future generations.
Happy Sewing!!!


Recent Comments